Back to Courses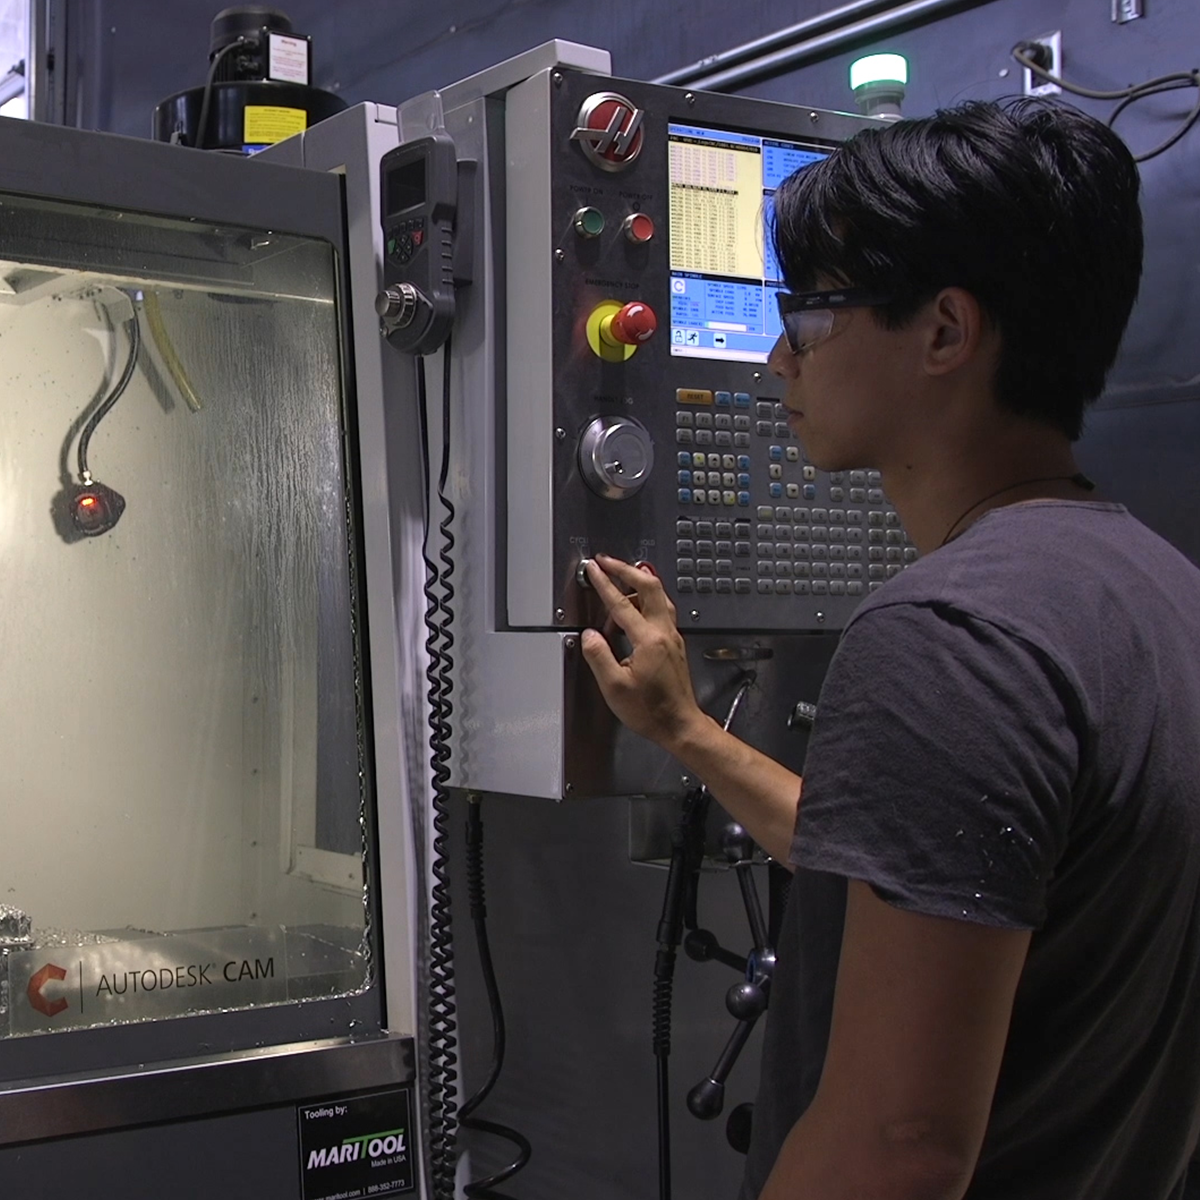


Design And Product Courses - Page 7
Showing results 61-70 of 512
3-Axis Machining with Autodesk Fusion 360
As our machining geometry gets more complicated, Autodesk® Fusion 360™ is up to the task! With a host of standard and adaptive toolpaths we can rapidly remove material from even the most complicated 3d parts. In this course, we explore how to rough and finish geometry that requires tool motion in X, Y, and Z simultaneously, learning how to finish even the finest of details. We’ll wrap up this course by creating a full CNC program for a part, simulating it, and exporting it to G-code.
Want to take your learning to the next level? Complete the Autodesk CAD/CAM for Manufacturing Specialization, and you’ll unlock an additional Autodesk Credential as further recognition of your success! The Autodesk Credential comes with a digital badge and certificate, which you can add to your resume and share on social media platforms like LinkedIn, Facebook, and Twitter. Sharing your Autodesk Credential can signal to hiring managers that you’ve got the right skills for the job and you’re up on the latest industry trends like generative design.
Looking for Autodesk Fusion 360 certification prep courses? Check out additional learning resources to help you uplevel your skills: https://www.autodesk.com/learning
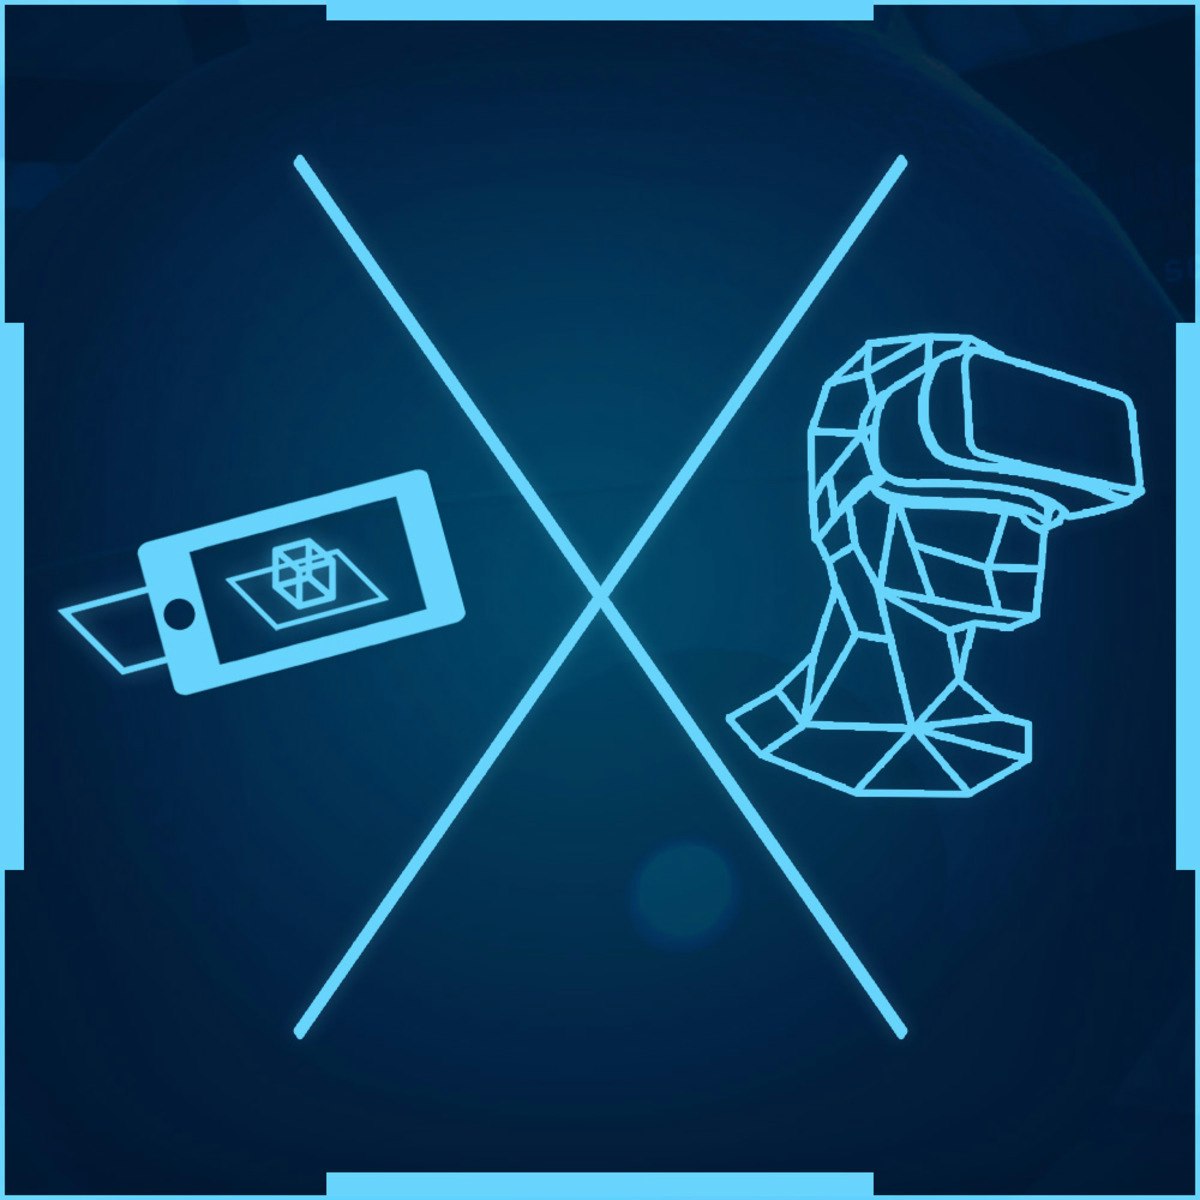
Introduction to XR: VR, AR, and MR Foundations
What is XR? It’s shorthand for a related set of new technologies that are changing the way we interact with the world and with each other: Virtual Reality, Augmented Reality, and Mixed Reality.
To understand XR, you need to understand the technologies that enable it. If you understand the available technologies, how they are used, and what their future holds, you’ll be well equipped to deal with XR as it rapidly evolves and converges.
In this course, we will present an introduction to XR using a broadly chronological approach, focusing on how all of the underlying technologies came together at key moments in the history of XR to launch the concepts of Virtual Reality and Augmented Reality into the mainstream consciousness. Throughout the course, we’ll give a brief description of each of the supporting technologies, some history about when it first came into use, limitations and future potential for improvement, and how it’s used for AR, VR, and MR.
As you learn about the technology, you’ll also develop hands on experience in the field along two tracks. First, you will use Unity to build and run two simple XR applications on your own smartphone: a “VR Museum” app and a handheld Augmented Reality app. Second, you will brainstorm, define, visualize, and iterate your own original concept for an XR application, ending the course with a thorough and peer-reviewed XR Product Brief that you could use as the basis for future development.
This is the first of three planned courses in Unity's XR Specialization, which include the Mobile VR App Development with Unity course as well as a future course focused on developing Augmented Reality (AR) applications with Unity.
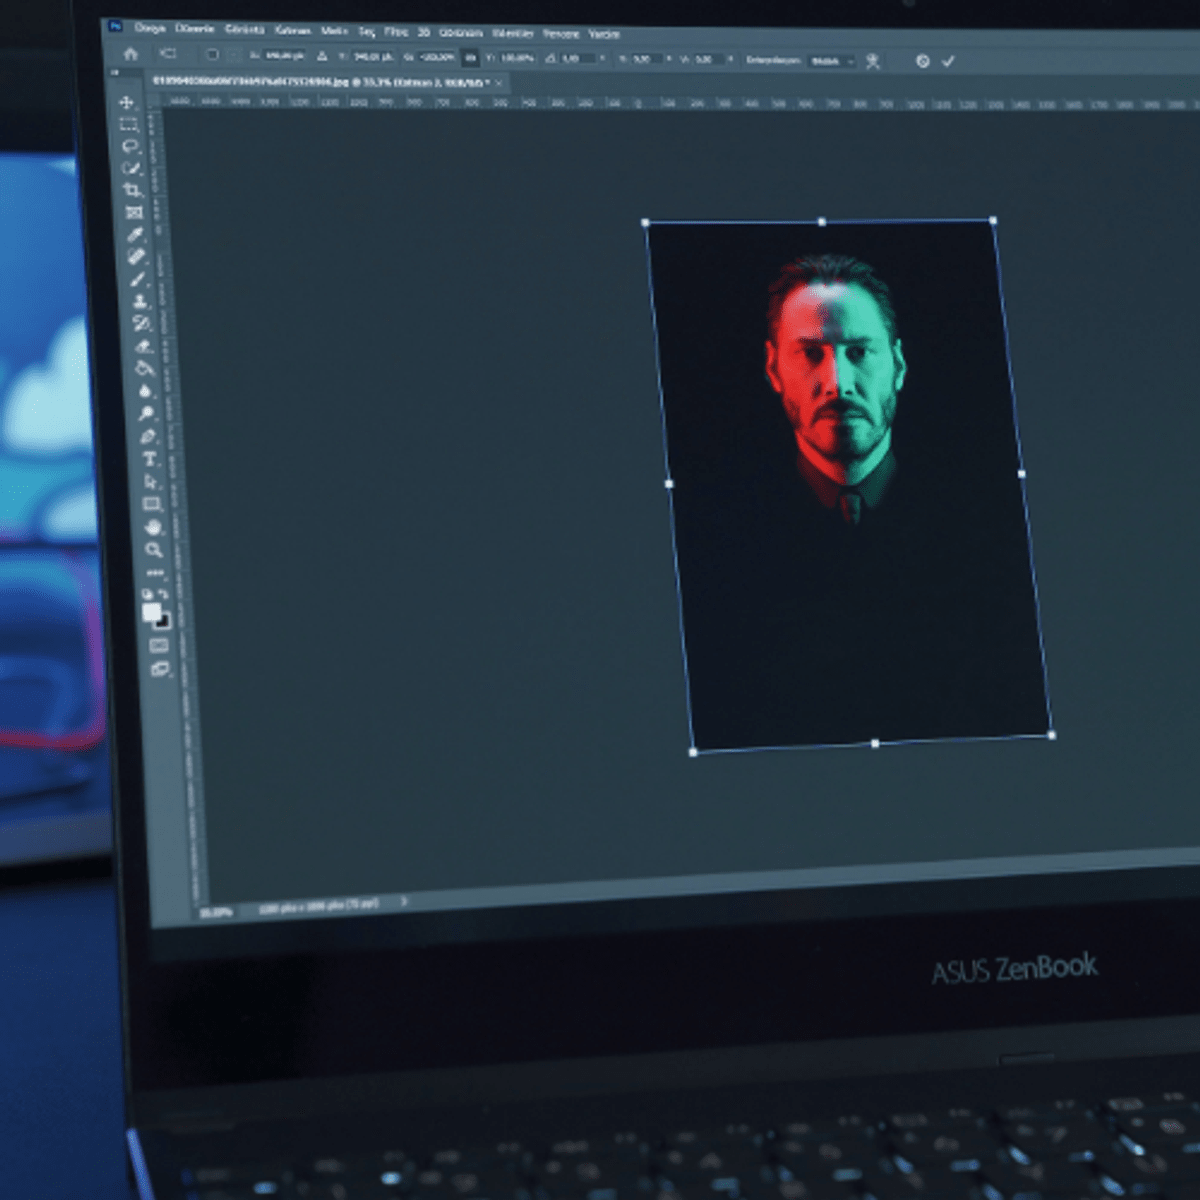
How to create a high-quality flyer in Adobe Photoshop
In this project, learners will get a grasp of how to create a high-quality flyer that can be used for digital use or for print use in Adobe Photoshop. They will learn how to choose the correct settings and attain a basic understanding of how to compose the visual elements in a high quality flyer. Finally they will learn how to properly export their high quality flyer.
Getting Started With Adobe Photoshop
After completing this project, you will be able to navigate through Adobe Photoshop and you will be able to perform simple tasks to complete a small project. First, you will learn some key terminology, helpful shortcuts, and how to start a new project in Adobe Photoshop. Then, you will learn how to add a photo to Adobe Photoshop, how to crop it, and you will learn how to use the healing brush tool for your photos. Sometimes photos include items that you do not want to necessarily be in there. In this case, the stamp tool will come in handy. You will learn all about the stamp tool and how to improve your photo with it. Lastly, you will learn different options for saving your project so you can use it further or so you can return to it at a later point in time.
The aim of this project is to familiarize you with simple functions in Adobe Photoshop. By the end of this project. you will be able to create a simple photo project.
Starting GUI Programming with JavaFX
In this 2-hour long guided project, we will learn the basics of creating GUI Applications with JavaFX. We will do this by creating a simple user interface designed with Scene Builder and FXML. The GUI Application itself will be powered by the JavaFX framework. While JavaFX has a fairly large number of components that offer a lot of functionality, we will focus on creating something simple to familiarize ourselves with the framework and some of its core functionality.
To be able to complete this project successfully, you should be familiar with the Java programming language.
Note: This course works best for learners who are based in the North America region. We’re currently working on providing the same experience in other regions.
Introduction to Software Engineering
If you are curious to learn more about the field of software engineering, this course is for you. No prior knowledge or qualification in programming or software development is necessary. Software Engineers are in great demand and now is a great time to learn more about this exciting career path.
The field of software engineering is growing at an estimated rate of 22% according to the US Bureau of Labor and Statistics. In addition to aspiring software engineers, this course is also suitable for those in related careers such as Product and Project Managers, IT Managers, Information Developers and others who communicate and interact with software engineers.
This course teaches you about the power of the Software Development Lifecycle (SDLC) and software development methodologies like Agile. Explore fundamental programming principles and foundations of design, architecture, and deployment. Investigate skills a software engineer needs and identify job opportunities with hands-on projects. You will also learn about programming basics and software development tools and stacks.
Throughout this course, you’ll hear from expert and novice software engineers to get a feel for what the job is like from their perspective. After completing this introductory course you will be conversant in the tools, technologies, terminology, processes, and practices in software engineering.
Google Workspace Admin: Managing Google Meet
This is a Google Cloud Self-Paced Lab. In this lab, you will learn how to create a meeting and live stream, how to configure different features in Google Meet, as well as how to configure access to Google Meet.
Rapid Prototyping of Embedded Interface Designs
This course can also be taken for academic credit as ECEA 5347, part of CU Boulder’s Master of Science in Electrical Engineering degree.
Rapid Prototyping is the second of three classes in the Embedded Interface Design (EID) specialization, an online version of the on-campus EID class taught in graduate embedded systems design. This course is focused on rapid prototyping of devices and systems and the related methods, practices, and principles that will help ensure your embedded interface designs are what your users both need and want. The class includes an introduction to rapid prototyping, prototyping device and system user interfaces, prototyping devices, and design considerations and perspectives for devices. The content ranges from general design best practices to specifics for embedded devices of different types and specific flavors of user interfaces, but all are presented to support developing embedded devices. The class includes practical projects that let you try some of standard methods in software development of prototype graphical user interfaces for devices using Qt and HTML. This course can be taken for academic credit as ECEA 5347, part of CU Boulder's Master of Science in Electrical Engineering degree.
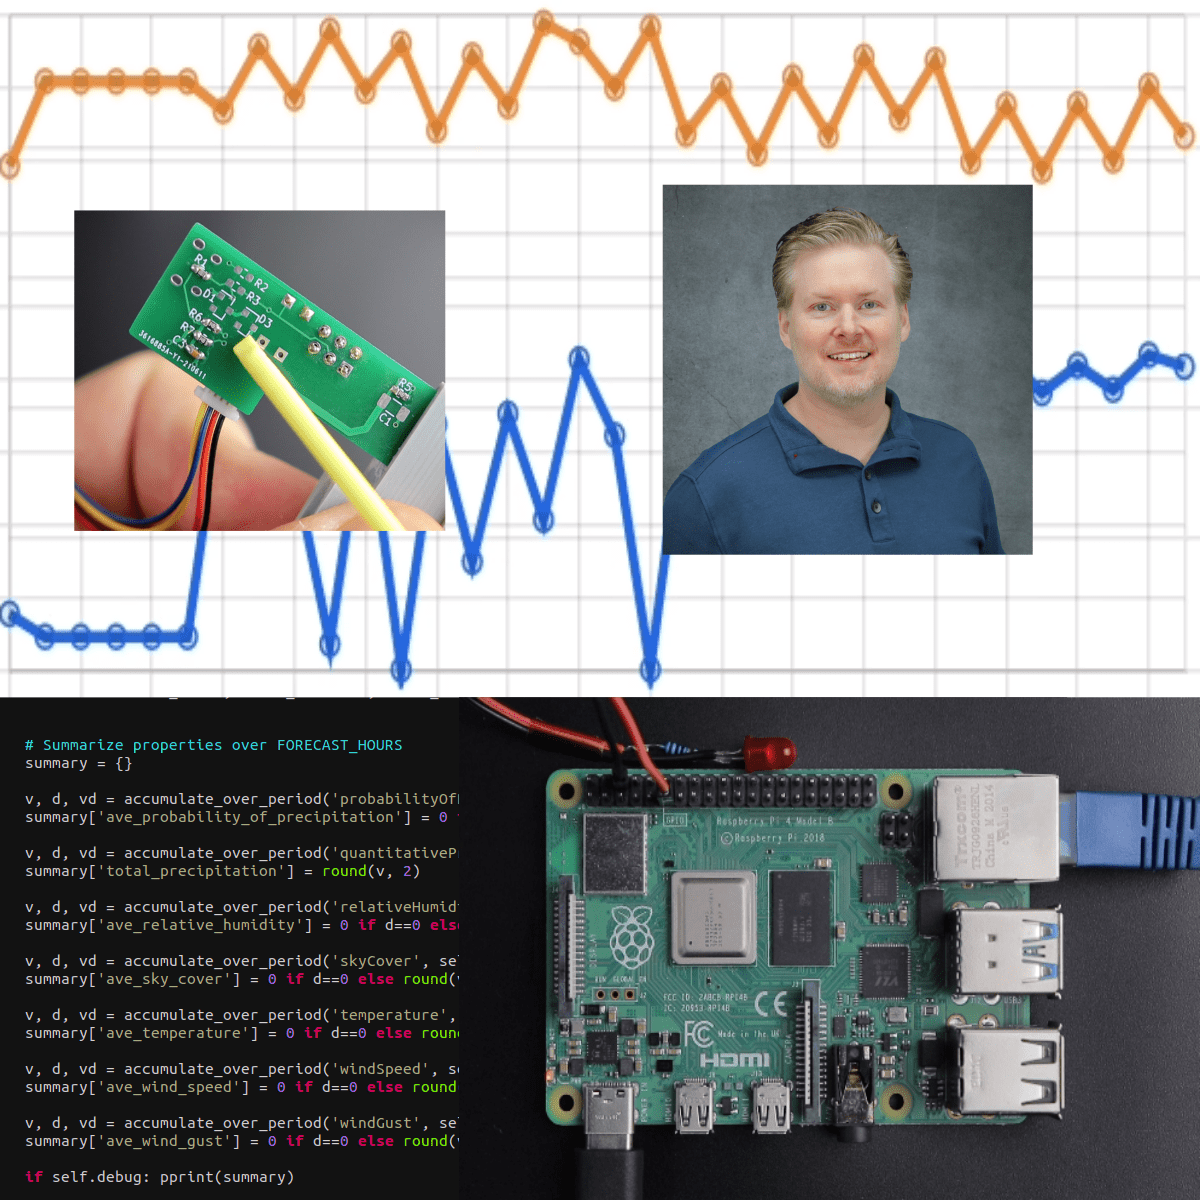
Designing Hardware for Raspberry Pi Projects
This is course 4 of this specialization (although it can be taken out of order) and focuses on applying experience and knowledge gained in the first three courses to build physical electronics hardware. Specifically, this course focuses on four areas: circuit simulation, schematic entry, PCB layout, and 3D CAD modeling. There are many excellent commercial applications available in these areas, however to give everyone access we'll be using all free and open-source software.
By the end of this course you should feel comfortable using free and open-source software to design your own printed circuit board and any bracketry or case to hold it, customized for your application.
Module 1 covers circuit simulation using several open-source projects and simulation methods for simulating transient response of circuits as well as frequency-domain response of filters. Additionally, we'll use open-source filter synthesis tools to help you quickly design and simulation filters.
Module 2 is all about creating professional looking electrical schematics. This is both an art and a skill and we'll cover the technical elements of using schematic entry software as well as broad concepts that are portable to any commercial application.
Module 3 takes our schematic and turns it into a physical PCB design. Understanding this process of how the schematic and the PCB layout work together is critical. We'll be demonstrating this with open-source software, but again, the concepts apply to any commercial software you may have access to.
Module 4 demonstrates the powerful idea of co-designing your electrical and mechanical systems together. We'll create a 3D model of our electrical PCB and bring it into 3D CAD software to design mechanical parts around it. Tying together these two applications opens another dimension in customizing your projects.
Test Accessibility of Your Design with WAVE
Wave is an online suite of tools that you can use to check the accessibility of a website against the Web Content Accessibility Guidelines (WCAG). In this project, you will learn about WCAG and how to use WAVE to ensure your web page is meeting the guidelines.
Popular Internships and Jobs by Categories
Find Jobs & Internships
Browse


© 2024 BoostGrad | All rights reserved